Our blog
Expert advice and answers to frequently asked questions about our fleet safety technology. From industry-specific fleet solutions to Driver•i tips and tricks, find actionable insights for your fleet today.
FEATURED Blog
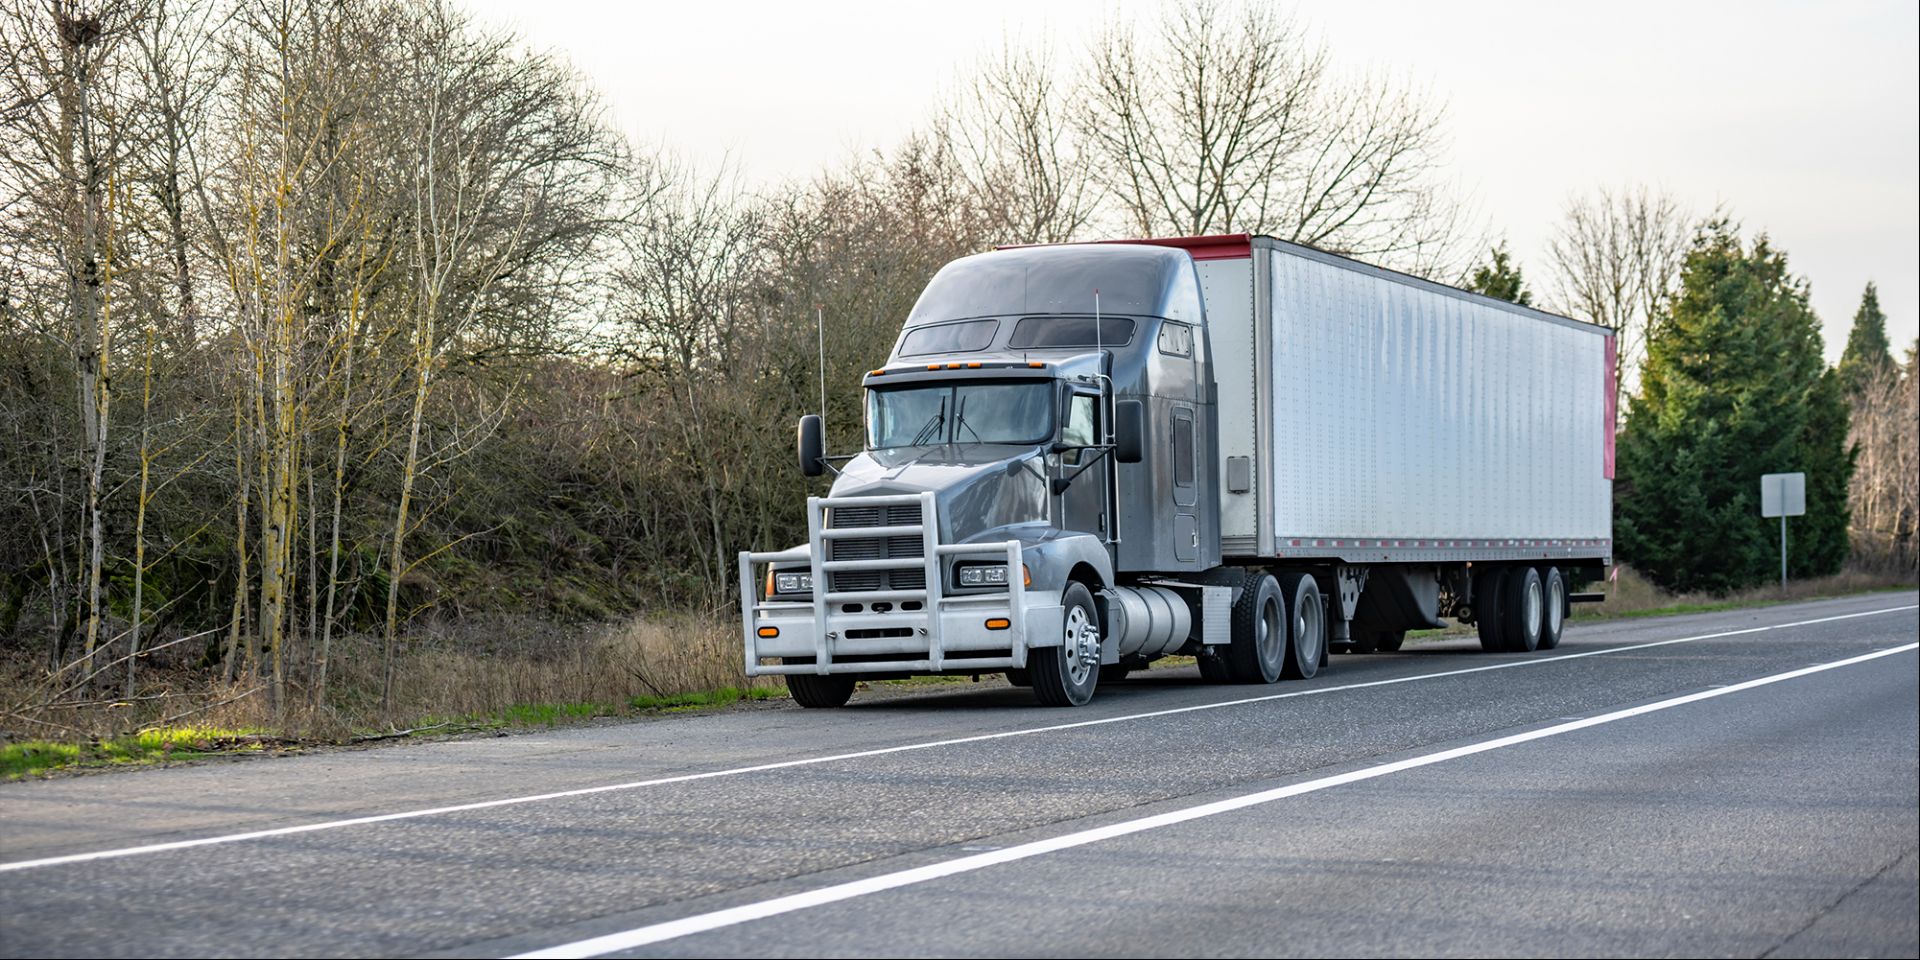
Beyond MPG: How integrated fleet management transforms fuel efficiency from cost center to competitive advantage
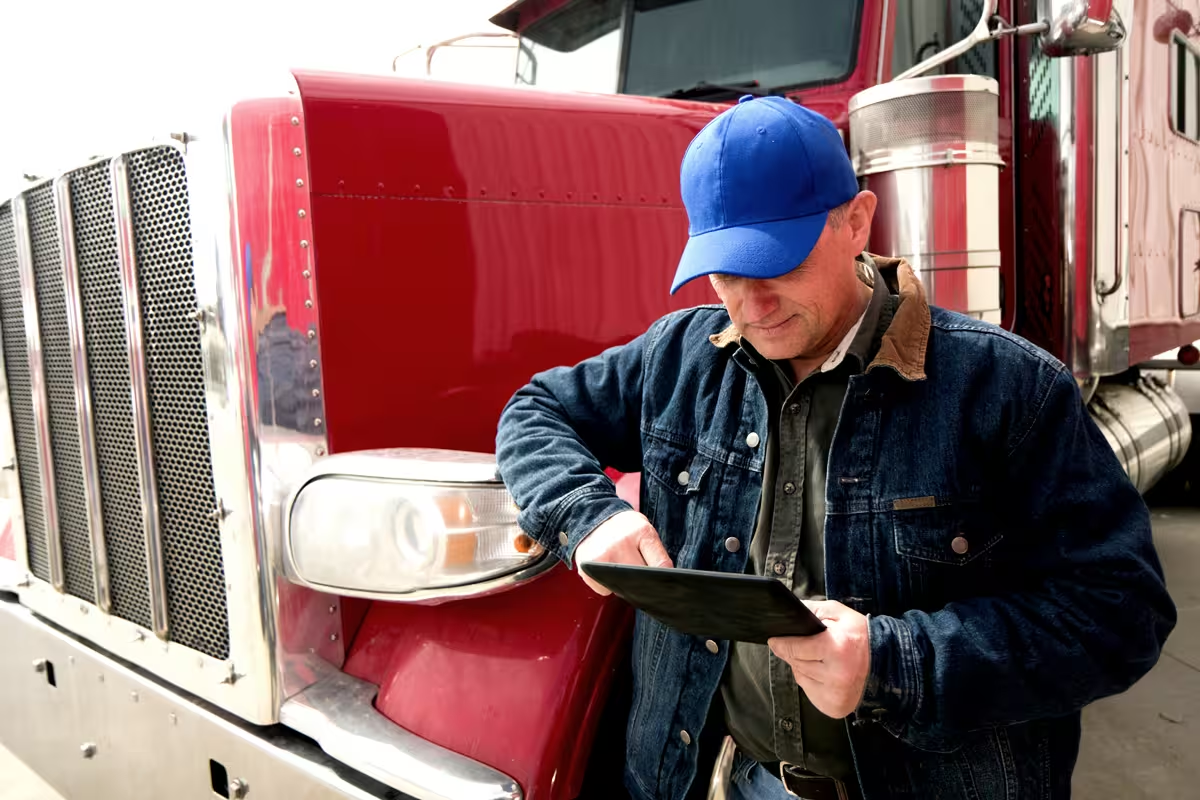
Fuel makes up about 24% of fleet operating costs, so small efficiency gains compound quickly. Studies show driver behavior can change fuel use by up to 15% (the U.S. DOE estimates 15–30% on highways and up to 40% in stop-and-go traffic), and idling, poor maintenance, and inefficient routing add more waste. Using driver coaching, proactive maintenance, and smarter routing in an integrated fleet platform like Netradyne’s Driver·i produces measurable fuel and safety improvements and strong ROI.
Thank you for your submission!
Oops! Something went wrong while submitting the form.
July 29, 2026
Fleet Safety
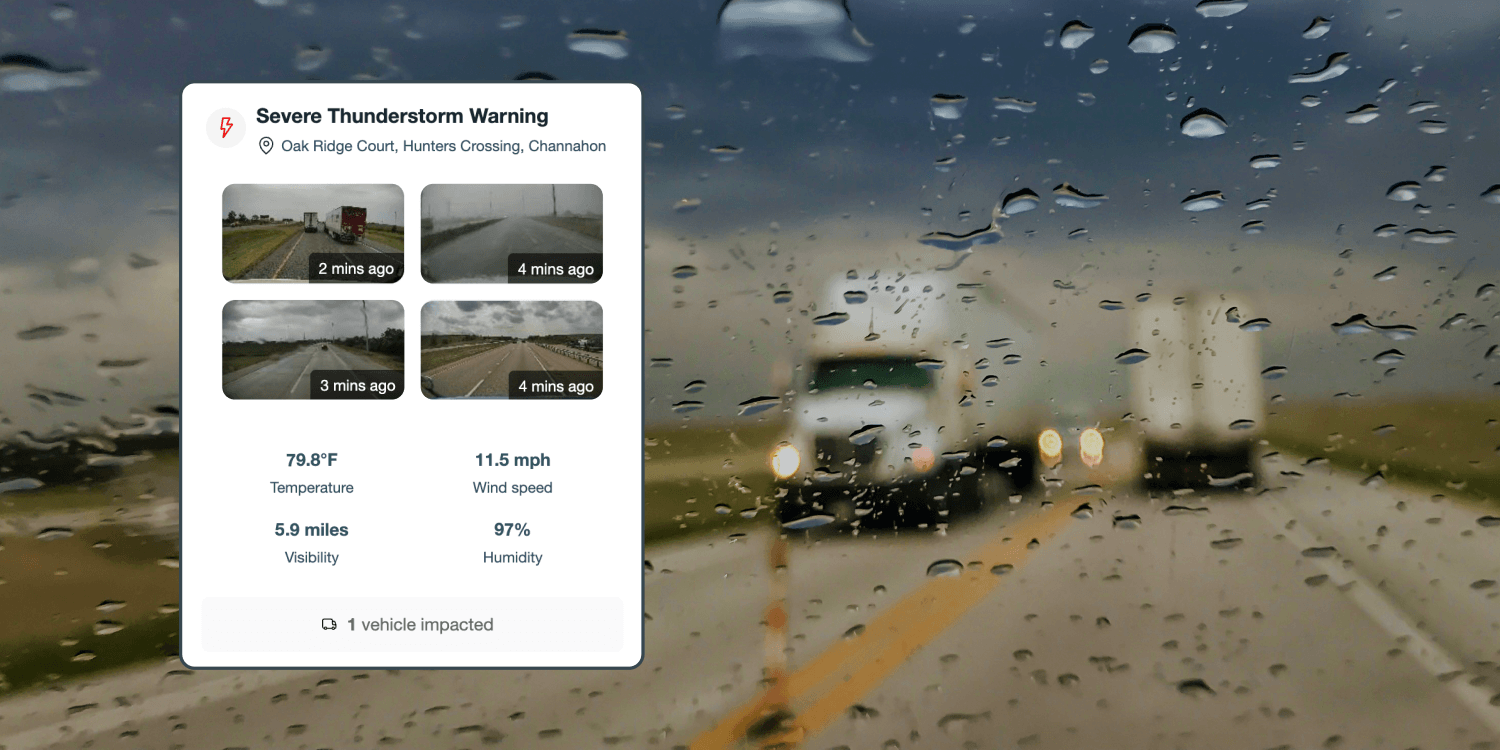
Active Weather Powered by Netradyne Intelligence Helps Fleets Act Faster When Weather Changes
Learn more
Fleet Safety
July 22, 2026
Industry News
ATRI report: record trucking costs in 2025 and what fleets can do about it
Learn more
No items found.

July 9, 2026
Fleet Safety
How to prevent backing incidents in waste & recycling fleets
Learn more
Claims Management
Waste & Recycling
Fleet Safety
Fleet Dash Cams
Collision Avoidance

July 6, 2026
Fleet Management
Why driver behavior is the biggest fuel lever in waste & recycling
Learn more
Waste & Recycling
Fleet Management
Fuel Efficiency

June 30, 2026
Fleet Safety
The most underrated risk facing fleets
Learn more
Collision Avoidance
Fleet Safety

June 16, 2026
Artificial Intelligence
Next-Generation Platform for Fleet Safety and Operations: Introducing Netradyne Intelligence
Learn more
AI Agents
Physical AI

June 8, 2026
Fleet Safety
Turn Safer Driving into Extra Revenue with Netradyne and Amazon Relay
Learn more
Fleet Safety

May 27, 2026
Fuel
When the fuel crisis hits, your superpower is already behind the wheel
Learn more
Fuel Efficiency

May 26, 2026
Company News
Netradyne appoints Sreekanth Annapureddy as Chief Technology Officer
Learn more
Company

May 15, 2026
Fleet Management
Improve the Last-Mile Metrics That Matter Most
Learn more
Fleet Management
No results found.
Please try different keywords or remove some filters.


Want to protect drivers & reduce costs?
That’s not a trick question. See for yourself with a demo.